

Freestanding kitchen pantry cabinet solutions are the fastest, most cost-effective way for small kitchen owners and renters to add vertical storage—without costly remodeling or permanent installation. This buyer’s playbook explains exactly how to pick the right freestanding pantry for your size, budget, and strength needs, and how to avoid fit and durability mistakes that so often sabotage results in small spaces.
Battling clutter and zero built-in pantry space? Here’s a proven checklist to filter, measure, and install the best standalone pantry cabinet for your small kitchen—plus troubleshooting, expert tips, and storage hacks you can trust.
Key Takeaways
- For small kitchens, narrow freestanding pantry cabinets (12–18” wide, 12–15” deep, 70–78” tall) maximize storage with minimal footprint.
- Must-have features include adjustable shelves, anti-tip anchoring, soft-close hinges, and full-extension pull-outs for deep or tall units.
- Measure ALL dimensions and door swing before purchasing, budget $150–$350 for a durable model, and always anchor for safety and stability.
- What Is a Freestanding Kitchen Pantry Cabinet?
- Step-by-Step Buyer’s Guide: Picking, Measuring, Installing
- Advanced Analysis & Common Pitfalls
- Conclusion & Next Steps
- FAQs
What Is a Freestanding Kitchen Pantry Cabinet?
A freestanding kitchen pantry cabinet is a standalone storage unit—usually tall, narrow, and engineered to fit small kitchens—designed to provide floor-to-ceiling vertical storage for food, dishes, or small appliances. Unlike built-ins, these cabinets do not require wall-to-wall installation, making them ideal for renters or homeowners needing extra storage without remodeling.
This storage solution is especially helpful for small or older kitchens lacking dedicated pantry space. Most models are delivered flat-packed (RTA, or ready-to-assemble), built from engineered wood or solid-wood veneers, and feature adjustable shelving, pull-out drawers, and anti-tip hardware for both flexibility and safety.
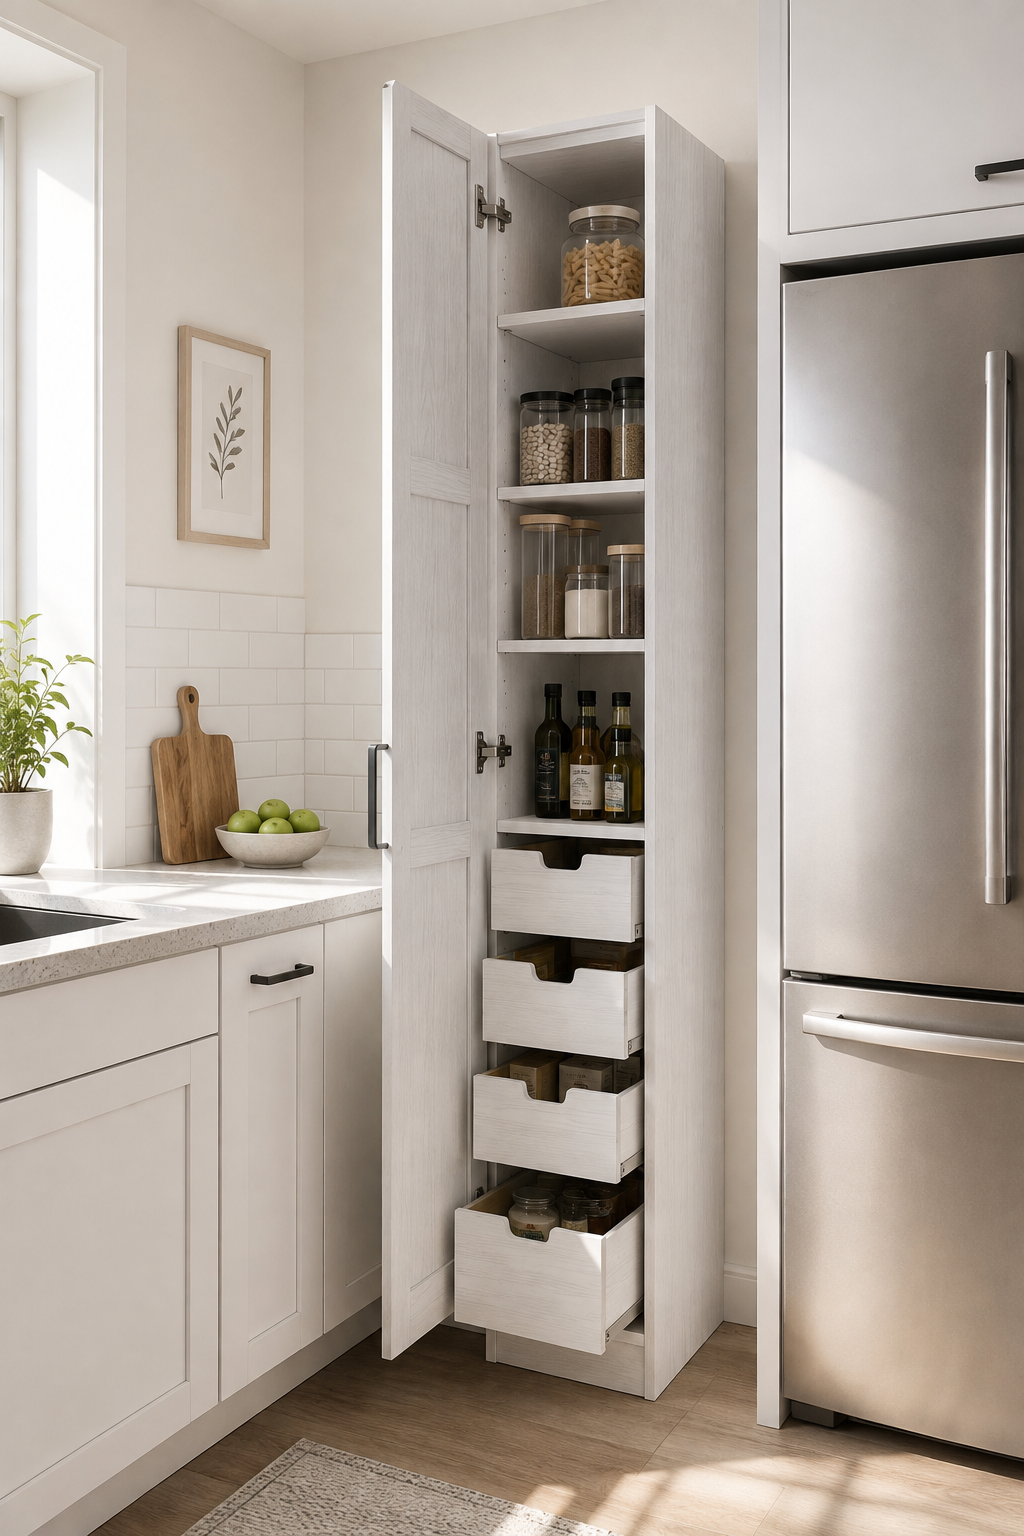
Why does cabinet design matter in small kitchens? Because the wrong width, depth, or layout can block access, reduce usable storage, or even tip over. The right freestanding pantry cabinet creates vertical, adjustable storage where you have none, instantly improving organization and resale appeal. For a detailed look at standard and custom pantry cabinet sizing, see the Pantry Cabinet Sizes Guide.
Key caveats: Always measure your kitchen’s available width, depth, and ceiling height before ordering. Most small-kitchen pantries are 12–18” wide, 12–15” deep, and 70–78” tall. Units wider than 18” or deeper than 15” may not fit or may block adjacent doors in tight kitchens [2].
Step-by-Step Buyer’s Guide: Picking, Measuring, Installing
This practical guide walks you through selecting, buying, and installing the right freestanding pantry cabinet for a small kitchen—minimizing risk, maximizing storage, and avoiding the top errors that lead to wasted money or poor usability.
1. Identify Your Space and Storage Needs
- Measure available width (ideally 12″–18″ for small kitchens).
- Measure maximum usable depth (12″–15″ keeps items reachable).
- Measure floor-to-ceiling height; most “tall” units range 70–78″.
- Note door swings and adjacent cabinet/appliance clearances.
- Estimate storage: daily food, small appliances, cans, or bulk.
| Spec | Recommended Range (Small Kitchens) |
Why |
|---|---|---|
| Width | 12–18″ | Narrow units fit tight gaps; wider blocks doors. |
| Depth | 12–15″ | Easy reach; deeper only if full-extension pull-outs. |
| Height | 70–78″ | Max vertical storage; below standard 8′ ceilings. |
| Budget | $150–$350 | Durable, attractive engineered wood in range. Average spend: $250–$300 [3] |
| Features | Adjustable shelves, soft-close hinges, anti-tip | Critical for safety, flexibility, longevity |
2. Filter for Must-Have Features
- Adjustable shelves (minimum shelf spacing 150mm/6″). No fixed-only shelves.
- Improves flexibility, fits tall cereal boxes and small jars [Pantry Organization Ideas].
- Full-extension pull-outs in deep/narrow base or tall cabinets.
- Soft-close hinges and ball-bearing slides to prevent slamming and increase longevity.
- anti-tip anchoring and included wall brackets; anchor to studs whenever possible for safety (source).
3. Measure and Plan Before You Buy
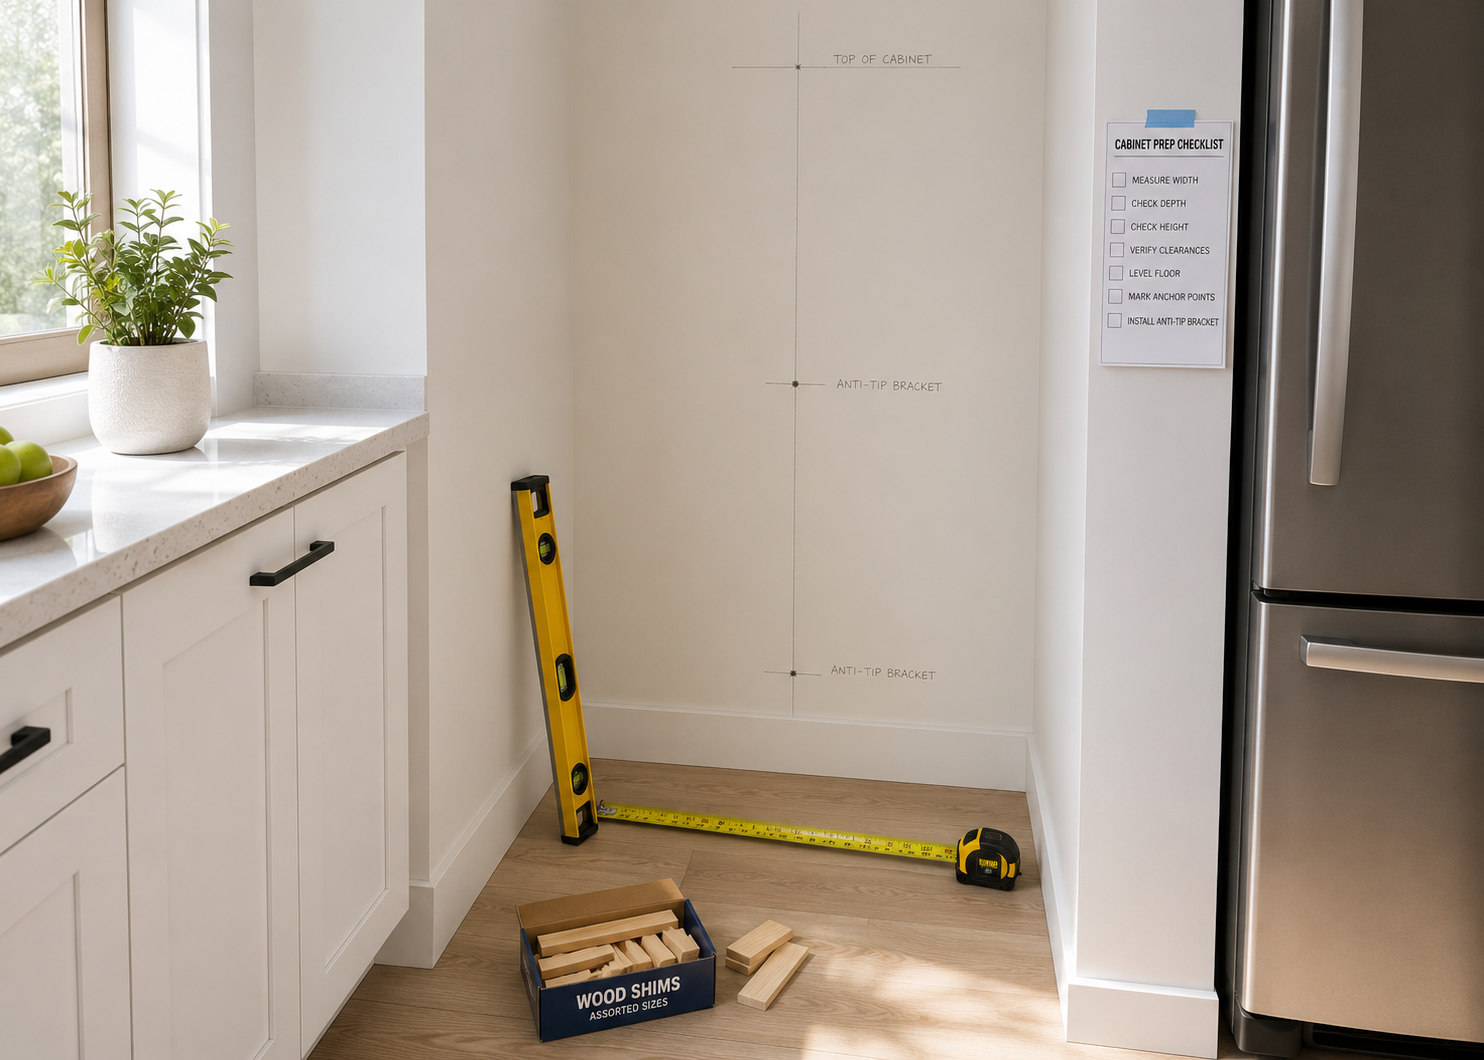
- Check your floor and wall for level/plumb using a long level or laser. Mark a reference line at cabinet height.
- Confirm all doors (fridge, oven, adjacent cabinets) will still function once the pantry is placed.
- Mark exact pantry location with painter’s tape on floor and wall to visualize impact.
- Verify ceiling height vs. cabinet height—leave 1–2″ at top for fitting unless using true built-in look.
- Take a photo and bring all measurements when shopping (in-person or online).
| Measurement | What to Check |
|---|---|
| Width | Min. 12″, ideal max. 18” for small kitchens |
| Depth | 12–15″ (more than 15″ = danger of lost items unless pull-outs) |
| Height | Under ceiling, usually 70–78″ |
| Door Swing | Leave 2″ minimum clearance for easy opening |
| Floor/Wall Level | Any drop more than 1/4″ across cabinet will need shimming |
4. Installation: Key Steps and Mistakes to Avoid
- Assemble the pantry cabinet on a flat surface per manufacturer instructions. Check all hardware and inventory parts.
- Move cabinet into place gently; do not drag.
- Use shims (wood or plastic) under cabinet sides/corners as needed to ensure it is perfectly level front, back, and side to side.
- Once level, anchor the pantry to the wall using included anti-tip brackets—always into wall studs if possible, using at least two points. Hollow-wall anchors only if studs are unavailable.
- Install shelves and drawers, load a little at a time, and test all door/drawer operation.
- Check for door swing and see if anything rubs or blocks. Adjust shims if needed.
| Installer’s Safety & Durability Checklist |
|---|
| ✓ Level cabinet with shims |
| ✓ Securely anchor to studs or proper wall anchors |
| ✓ Use soft-close hinges and full-extension slides |
| ✓ Load test for tipping before heavy use |
| ✓ Test all door/drawer movements |
| ✓ Install anti-tip brackets |
| ✓ Touch up paint or finish as needed |
5. Organize for Maximum Storage & Accessibility
- Use adjustable shelves for flexibility; avoid overloading with heavy items on non-reinforced boards.
- In deeper base or tall units, always use full-extension pull-outs so nothing gets lost at the back.
- Add door-mounted racks for spices, packets, or wraps to maximize every inch.
- Zone pantry: Eye level for daily use, waist for cans/jars, lowest for heavy appliances, highest for infrequent use.
- For more advanced pantry organization ideas, see this complete guide.
| Item Type | Recommended Shelf Depth |
|---|---|
| Daily items, spices, cans | ~12″ |
| Cereal boxes, tall packages | ~15″ |
| Heavy appliances, bulk | 18–20″ (with pull-out shelf/drawer) |
Advanced Analysis & Common Pitfalls
Choosing a freestanding kitchen pantry cabinet involves trade-offs among cost, materials, durability, available features, and installation constraints. Here’s how to weigh your options—and avoid the most common mistakes that create frustration in small kitchens.
Materials & Construction: What’s Best for Small Kitchens?
| Material | Pros | Cons | Typical Price |
|---|---|---|---|
| Engineered wood (MDF/laminate) | Affordable, stable, wide color/finish options, easy to assemble | May sag under heavy loads (if thin); less durable if wet; must anchor | $150–$300 |
| Wood veneer over engineered core | More premium look, often thicker shelves, wear-resistant | Higher cost, minor risk of chipping on edges | $200–$400 |
| Solid wood with designer hardware | Maximum durability, classic look, strong shelves | Highest cost, very heavy, usually custom order | $400+ |
| Metal frame (hybrid) | High strength, modern look, extra stability | Can be noisier, colder design; fewer wood-style finishes | $250–$450 |
For durability on a budget, thicker plywood or reinforced-shelf engineered wood cabinets are ideal, especially if storing heavy appliances. For renters or those planning frequent moves, RTA engineered-wood is most cost-effective [5].
Most-Common Buyer Mistakes & How to Fix Them
| Problem | Immediate Fix |
|---|---|
| Pantry doesn’t fit in gap/blocks other doors | Re-measure with door swings included; choose narrower (<18″) model |
| Shelves bow or break | Reinforce shelves; upgrade or add metal support if possible |
| Cabinet rocks or feels unstable | Shim base and anchor to wall studs; install anti-tip kit |
| Trapped space at back/deep shelves hard to reach | Add pull-out shelves/drawers |
| Poorly installed hardware (hinges, slides) | Upgrade to soft-close hinges/ball-bearing models; adjust for fit |
| Not enough storage | Use door-mounted racks and baskets; zone shelves by use |
- See our pantry organization ideas guide for more on maximizing vertical storage with smart layouts.
- For classic kitchen cabinet buying pitfalls and how to avoid them, read our expert guide.
Feature vs Cost: Spend or Skip Checklist
- Spend on: adjustable shelves, anti-tip anchoring, reinforced shelves, soft-close hinges, quality slides
- Skip or downgrade if needed: Designer handles/knobs, interior lights, full wood vs. veneer (unless budget allows), frosted glass doors
Keep installation budget in mind: you may need to buy anchors, shims, or hire a pro if your walls or floors are uneven.
Small-Kitchen Layout Patterns for Standalone Pantries
These classic placement patterns work in real small kitchens:
- End-of-run narrow pantry: Place a 12–16″ wide unit at the end of your cabinet run, ensuring not to block doorways or windows. Leave at least 2″ extra for door swing clearance.
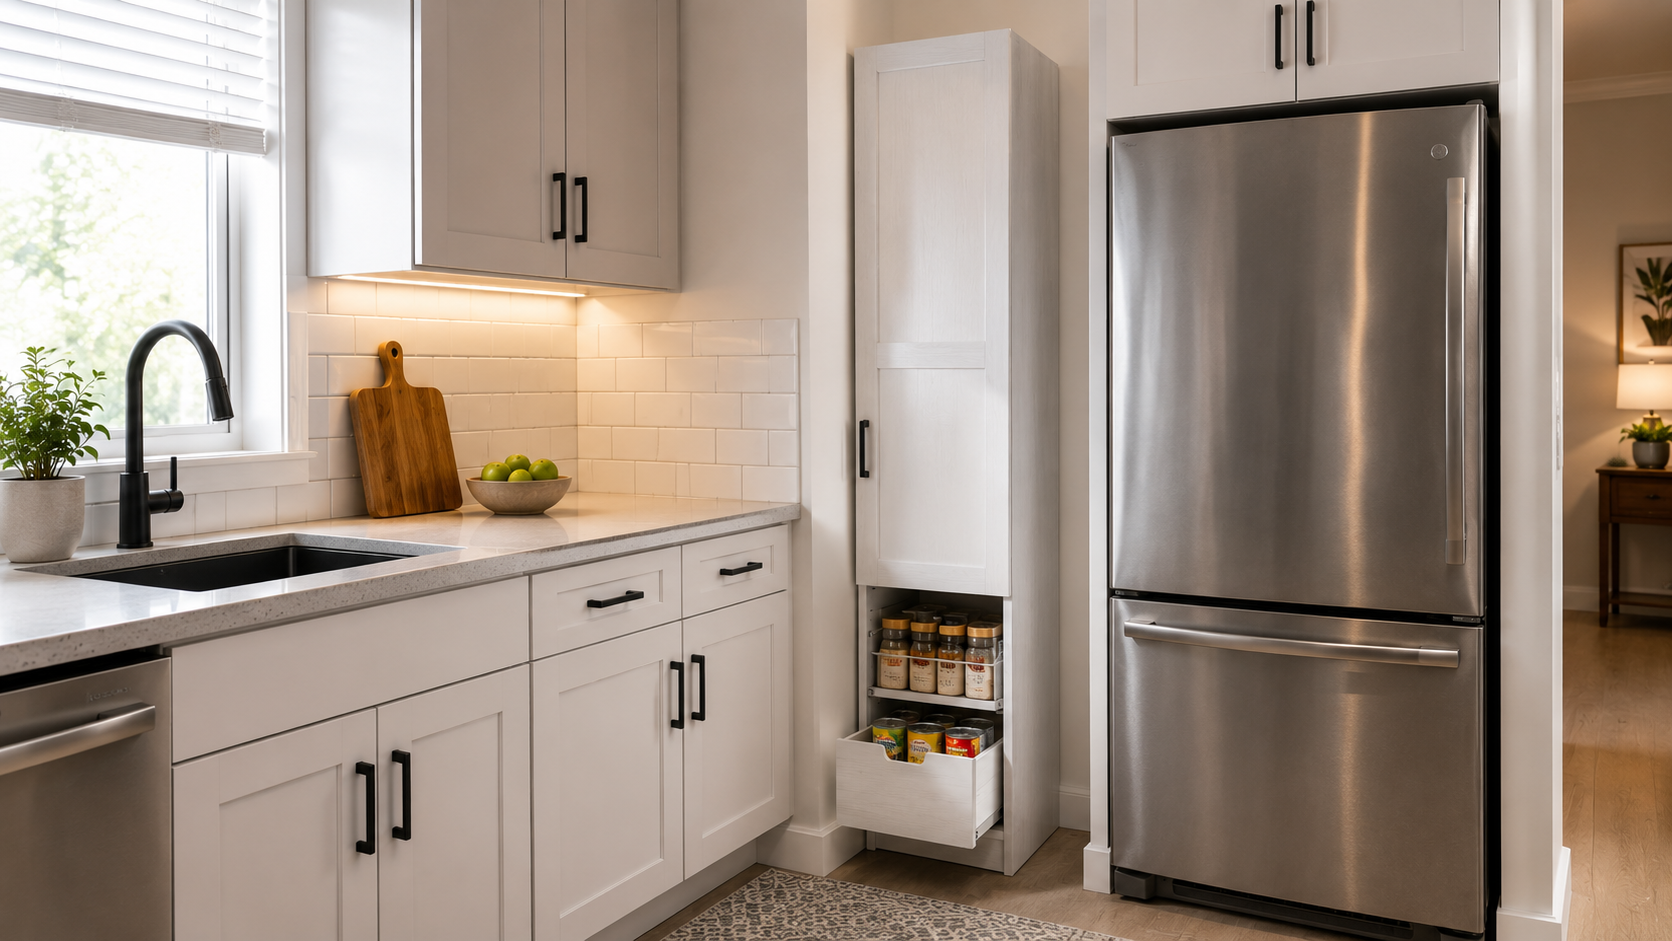
- Beside-fridge placement: Place a tall, narrow pantry right next to your refrigerator—creates a built-in look, maximizes storage, and fills the usual unused gap.
- Portable solution: Add a rolling kitchen island if no wall is available for a freestanding unit; useful for homes where permanent installation is impossible.
For more detailed layout strategies, see Maximizing Small Kitchen Storage: Layout Tips and Appliance Placement.
Conclusion & Next Steps
If you measure carefully and prioritize the right features—adjustable shelves, anti-tip anchoring, and full-extension pull-outs—a freestanding kitchen pantry cabinet can transform even the smallest kitchen with affordable, vertical storage. Always anchor for safety, plan your zones by everyday use, and factor in quality hardware for long-term usability. Ready to take action? Review your own kitchen’s measurements, filter for must-have features, and buy from reputable brands matching your durability and price needs.
For step-by-step organization strategies, check out our pantry organization solutions, the definitive pantry cabinet sizes guide, and our room-by-room decluttering system.
FAQs
What are the ideal dimensions for a freestanding pantry cabinet in a small kitchen?
For small kitchens, the ideal freestanding pantry cabinet is 12–18 inches wide, 12–15 inches deep, and around 70–78 inches tall. This maximizes vertical storage with minimal floor space use. See more details in the Pantry Cabinet Sizes Guide.
Do freestanding pantry cabinets need to be anchored to the wall?
Yes, anchoring is strongly recommended—most tall or narrow pantry cabinets can become top-heavy and tip over easily, especially in households with children or on uneven floors. Use included anti-tip devices and anchor to wall studs whenever possible (Chicago Tribune).
How deep should shelves be in a narrow pantry so items remain reachable?
For narrow or tall freestanding pantries, upper shelves should ideally be about 12 inches deep for everyday reachability; deeper shelves (up to 18–20″) are best used at lower heights and only if fitted with pull-out drawers to prevent items from getting lost at the back.
Which shelving and drawer features are most important for narrow/vertical pantries?
Adjustable shelving (minimum 6”/150mm spacing), full-extension pull-outs, soft-close hinges, and sturdy anti-tip anchoring are most important. These maximize usable space, prevent accidents, and make storage more flexible.
How much should I budget for a durable standalone pantry cabinet and installation?
Expect to pay $150–$350 for a typical narrow engineered-wood freestanding pantry (most buyers spend around $250–$300). Add $20–$40 for hardware and installation supplies; budget more if hiring a pro installer, particularly if your floors or walls need extra prep.