

Pegboard wall organizer systems are a flexible, stylish way to gain storage and workflow efficiency in any kitchen, bathroom, or home office. The right choice balances panel material, accessory strength, moisture-proofing, and visual impact—so you can hang everything from heavy cookware to crafting tools with confidence and flair. This guide walks you through room-specific decisions, the best systems and hacks (including IKEA SKÅDIS), realistic budgeting, and pro-level installation—all based strictly on the latest research and setup trends [1].
Read on for actionable steps, budget calculators, and the key pitfalls to avoid—plus a printable checklist for a safe, lasting install.
Key Takeaways
- Pick panel materials by room: metal for heavy or humid use, wood for style, recycled plastic for moisture-prone zones.
- Use modular systems like IKEA SKÅDIS for flexible layouts—always mount to studs or use heavy-duty anchors to avoid failures.
- Budget $150–$350 for most complete setups (panel & basic accessories); add extra for premium finishes, custom accessories, or pro install.
- What Is a Pegboard Wall Organizer?
- Quick Decision Map: Best Pegboard by Room
- What to Buy: Systems, Sizes & Accessories
- Costs & Budgeting
- Installation Guide: Step-by-Step
- Layout Planning & Advanced Pitfalls
- Accessories & Custom Color Ideas
- IKEA Pegboard Hacks & Modular Tips
- Common Problems & Fixes
- Buying & Measuring Checklist
- FAQs
What Is a Pegboard Wall Organizer?
A pegboard wall organizer is a panel system—made of metal, wood, or high-impact plastic—with regularly spaced holes or slots for interchangeable hooks, trays, shelves, and baskets. They’re used to create flexible, vertical storage in kitchens, bathrooms, offices, and hobby rooms. Unlike fixed shelving, pegboard organizers let you move accessories anytime, making it easy to adapt your setup as your needs change [5].
- Who benefits? Homeowners and renters seeking customizable, compact, and visually appealing storage—especially in spaces where floor and counter space are limited.
- Why choose pegboard over alternatives? It’s reconfigurable, widely available in different aesthetics, and typically affordable. With the right material and anchor method, it safely stores light or heavy items alike—while doubling as a feature wall.
- Caveats: Load limits must be respected. Moisture-prone spaces (bathrooms) require moisture-resistant panels and finishes to avoid warping/rust. Heavy loads need stud mounting or industrial panels.
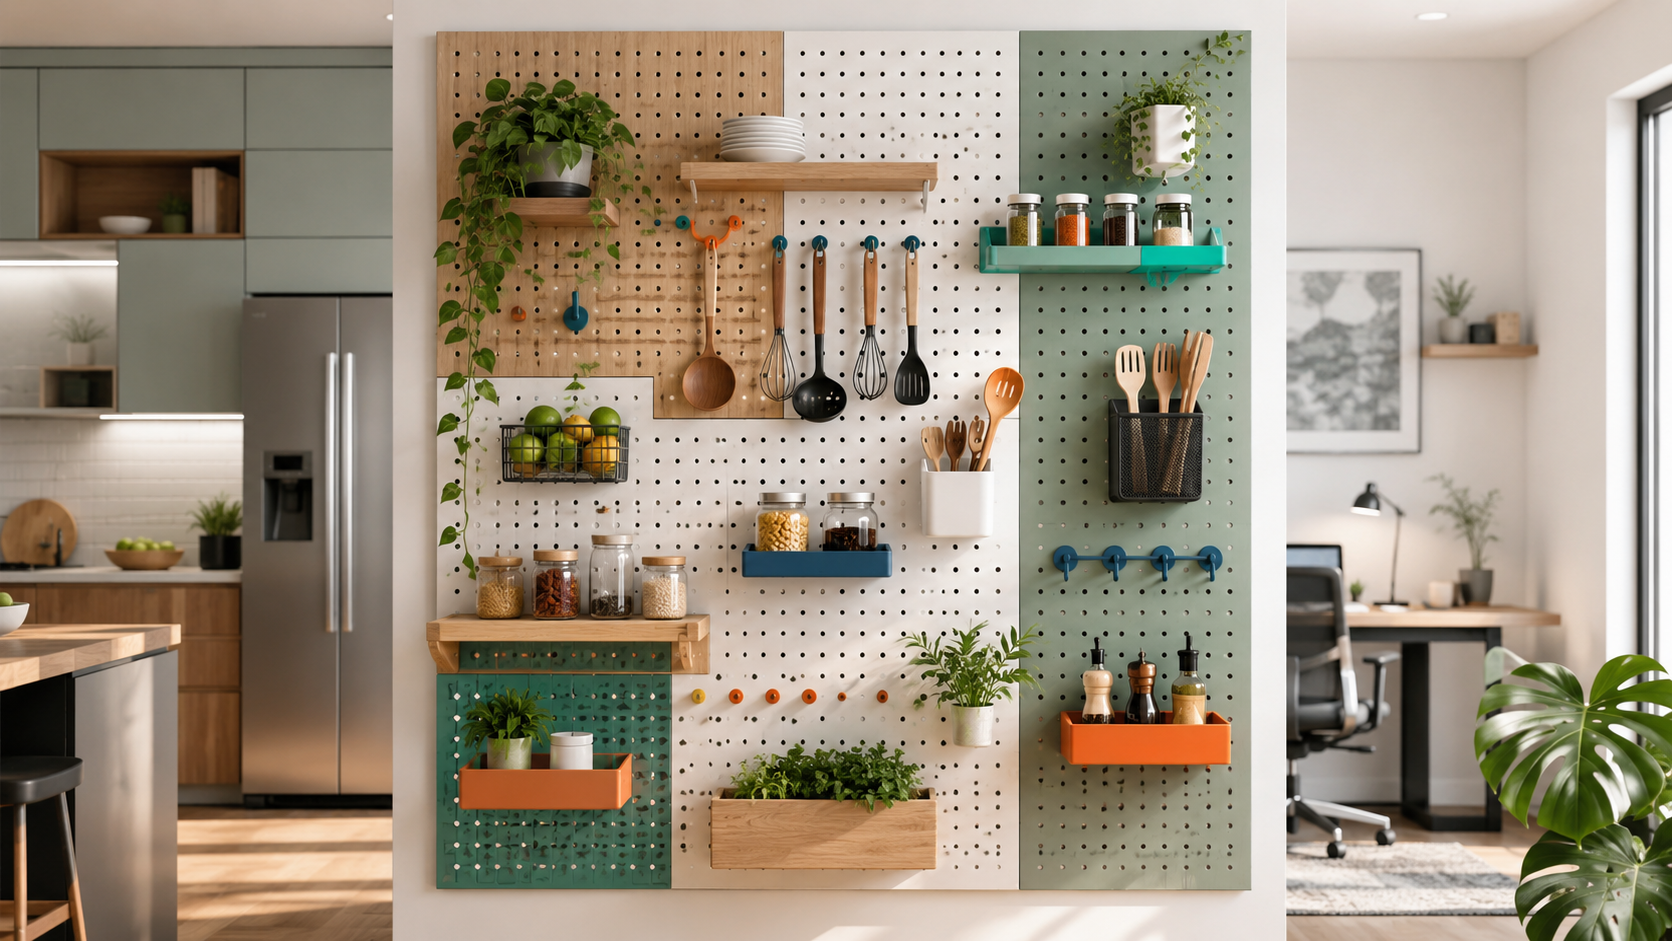
Quick Decision Map: Best Pegboard by Room
The fastest path to the right pegboard? Match material and system to your room’s needs, expected weight, and decor:
| Material Type | Best For | Typical Panel Cost | Load Guidance |
|---|---|---|---|
| Metal (powder-coated steel/aluminum) | Heavy cookware, tools, office gear; humid zones | $120–$250 | 30–50 lb per hook (if anchored to studs) High durability |
| Natural wood/wood-finish | Pantry, crafts, display where aesthetics matter; not for heavy/wet use | $80–$150 | Lightweight items (avoid >15 lb per hook); warm look |
| High-impact recycled plastic | Bathrooms, laundry, budget setups, kids’ rooms | $30–$80 | 15–20 lb per hook; moisture-resistant |
Match your accessory choices to weight and use: steel hooks for pots, plastic trays for cosmetics, deep shelves for cleaning supplies, and light cups for pens or spices [8].
For optimized kitchen workflow, see our pantry organization guide. For bathroom or bedroom ideas, review our small bedroom storage hacks.
What to Buy: Systems, Sizes & Accessories
Pick a panel system designed for your room, load, and look—then customize with a starter accessory set for immediate use:
Most Versatile: IKEA SKÅDIS Modular Pegboard
- Panel Sizes: 14″×22″, 22″×22″, 30″×22″, etc.
- White, birch veneer, blue, teal, brown-black.
- Modular accessories: hooks, shelves, cups, trays, mesh baskets, elastic cords—mix and match anytime.
- Decorative color items (turquoise, red, orange) inject fun for offices, craft, or kitchen setups.
Best for Heavy-Duty or Long-Term: Wall Control & Gladiator Metal Panels
- Standard steel panels, powder-coated for durability/moisture resistance.
- Larger panel options up to 16″×48″.
- Strong, reinforced hooks and solid shelves handle tools, pots, printers, and more.
Budget or Moisture-Resistant: Recycled Plastic Pegboards
- Panels as small as 16″×16″—snap together for larger walls.
- Plastic hooks/trays, safe for bathrooms, laundry, or kids’ areas.
- Lower weight rating (~15–20 lb/hook).
Room-by-Room Starter Kit Suggestions
| Room | Panel System | Starter Accessories | Approximate Spend |
|---|---|---|---|
| Kitchen | 2× IKEA SKÅDIS or 1× 32″x32″ metal | Steel hooks, wide shelf, utensil cups, shallow spice tray | $180–$320 |
| Home Office | SKÅDIS mosaic (3+ panels) or metal | Shelf for notebooks, pencil cup, mesh basket, monitor hook | $140–$350 |
| Bathroom | Plastic pegboard/Sealed wood | Shallow trays, elastic cords, mini bins | $90–$160 |
For even more modular storage, compare closet and wall organizers in our closet organization systems guide.
Costs & Budgeting
Estimate your full setup costs before purchase. Here’s a practical price breakdown (panels + starter accessories):
- Plastic systems: $150–$200 (basic panel + hooks/trays for bath or budget zones).
- Wood-style systems: $250–$350 (premium panel + quality hooks and shelves for high-visibility spaces).
- Premium metal systems: $350–$500 (industrial panel + heavy-duty accessories, perfect for cookware or office tech).
- Allow $100–$300 extra for integrated lighting, custom finishes, larger mosaics, or hiring a pro to install.
| Setup Level | Inclusions | Budget Estimate |
|---|---|---|
| Basic | Plastic panel + 6 accessories | $150–$200 |
| Mid | Wood/metal panel + 8–12 accessories | $250–$350 |
| Premium | High-grade metal, custom/lighting, 12+ accessories | $350–$500+ |
Want to maximize every dollar? Compare against other common garage organization ideas under $50 or see our eco-friendly organizers overview.
Installation Guide: Step-by-Step
Here’s how to safely install any pegboard wall organizer for long-term success and safety (with real-world guidance):
- Find wall studs in the desired area with a stud finder; mark them in pencil.
- Measure and mock up your panel and accessories (“floor test”) to plan layout and spacing before you drill.
- Pre-drill pilot holes (1/4” for metal/plastic, 1/2” for wood boards).
- Position a reinforced backer strip or mounting rail across at least two studs for even load distribution.
- Mount the panel using manufacturer hardware; if you can’t align with studs, use heavy-duty anchors (rated for >50 lb).
- Check for level before you tighten all fasteners—adjust as needed.
- Hang your heaviest hooks or shelves first, then balance lighter items evenly across the board.
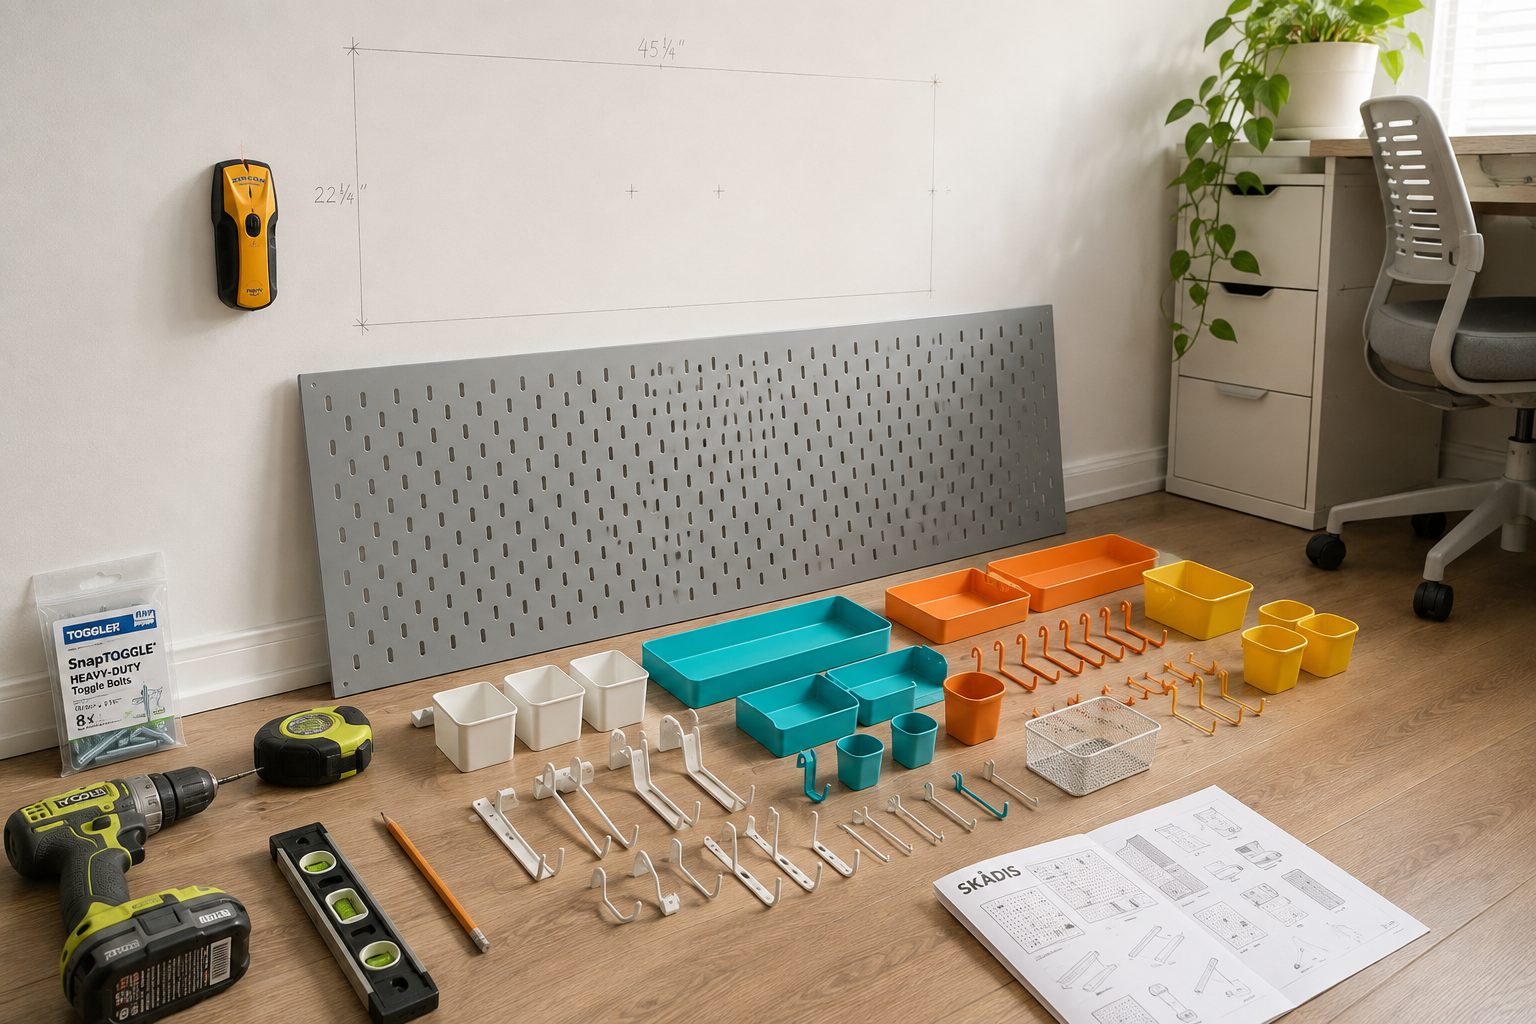
Essential tools: drill, level, stud finder, tape measure, pencil, anchors or toggle bolts (where needed), and a helper for leveling and lifting.
For advanced wall-mounting guidance (including backer rails and toggle bolts), visit our wall-mounting & anchoring fundamentals explainer.
Layout Planning & Advanced Pitfalls
Success isn’t just about installation—it’s about planning your pegboard layout for safety, strength, and convenience. Avoid these common errors:
- Overloading one area: Never concentrate heavy items (like pots or printers) directly over a single anchor. Always span hooks over multiple studs or anchor points.
- Poor layout: Skipping the “floor test” results in wasted accessory space, crowding, or unattractive balance. Arrange all accessories on the ground in their intended pattern, then refine before marking/drilling.
- Alignment mistakes: Not leveling your panel produces uneven shelves and messy lines—measure carefully and re-check before final tightening.
- No routine checks: Failing to periodically inspect anchor tightness may allow slow movement, leading to warping or panel sag over time.
| Pitfall | How to Avoid | Long-Term Alternative |
|---|---|---|
| Sagging/warping (esp. wood) | Seal all edges; avoid humid rooms; anchor securely | Choose plastic or powder-coated metal in wet zones |
| Hooks pulling out | Use correctly rated anchors; distribute load; check tightness after 1 month | Install a wider backer rail; reduce per-hook weight |
| Rusty panels | For metal, pick powder-coated or stainless; avoid bare edges | Apply clear sealant; use plastic in bathrooms |
6-Step Layout Checklist
- Measure total wall area and available stud spacing.
- Mock up accessory arrangement on the floor.
- Mark out studs and preferred panel position on the wall.
- Pre-drill all mounting holes.
- Mount the panel—check for level and security.
- Hang items, check balance, redistribute as needed.
For in-depth layout strategies or to plan complete workflow and storage zones, see our kitchen storage and workflow guide or home office organization guide.
Accessories & Custom Color Ideas
Pegboard accessories do more than store—they set the mood and define your space. Today’s most popular combos:
- Colorful hooks: Turquoise, red, teal, orange, or blue instantly animate kitchens or offices (IKEA SKÅDIS, Just Hanging).
- Shelves & trays: Shallow trays for spices, deep shelves for books or plants, angled hooks for utensils.
- Cups, baskets & pockets: Hex cups, mesh baskets, magnetic bins keep craft and office tools within reach.
- Elastic cords & specialty holders: Stretch bands for cosmetic bottles or scissors; 3D-printed holders for cables, bobbins, or odd-shaped items.
Accessory mix ideas by room:
- Kitchen: Wide steel hooks (for pans), shallow spice trays, color accent hooks for mugs, mesh pocket for utensils.
- Home office: Pencil cups, shelf for display, elastic cord for chargers, magnetic basket for notes.
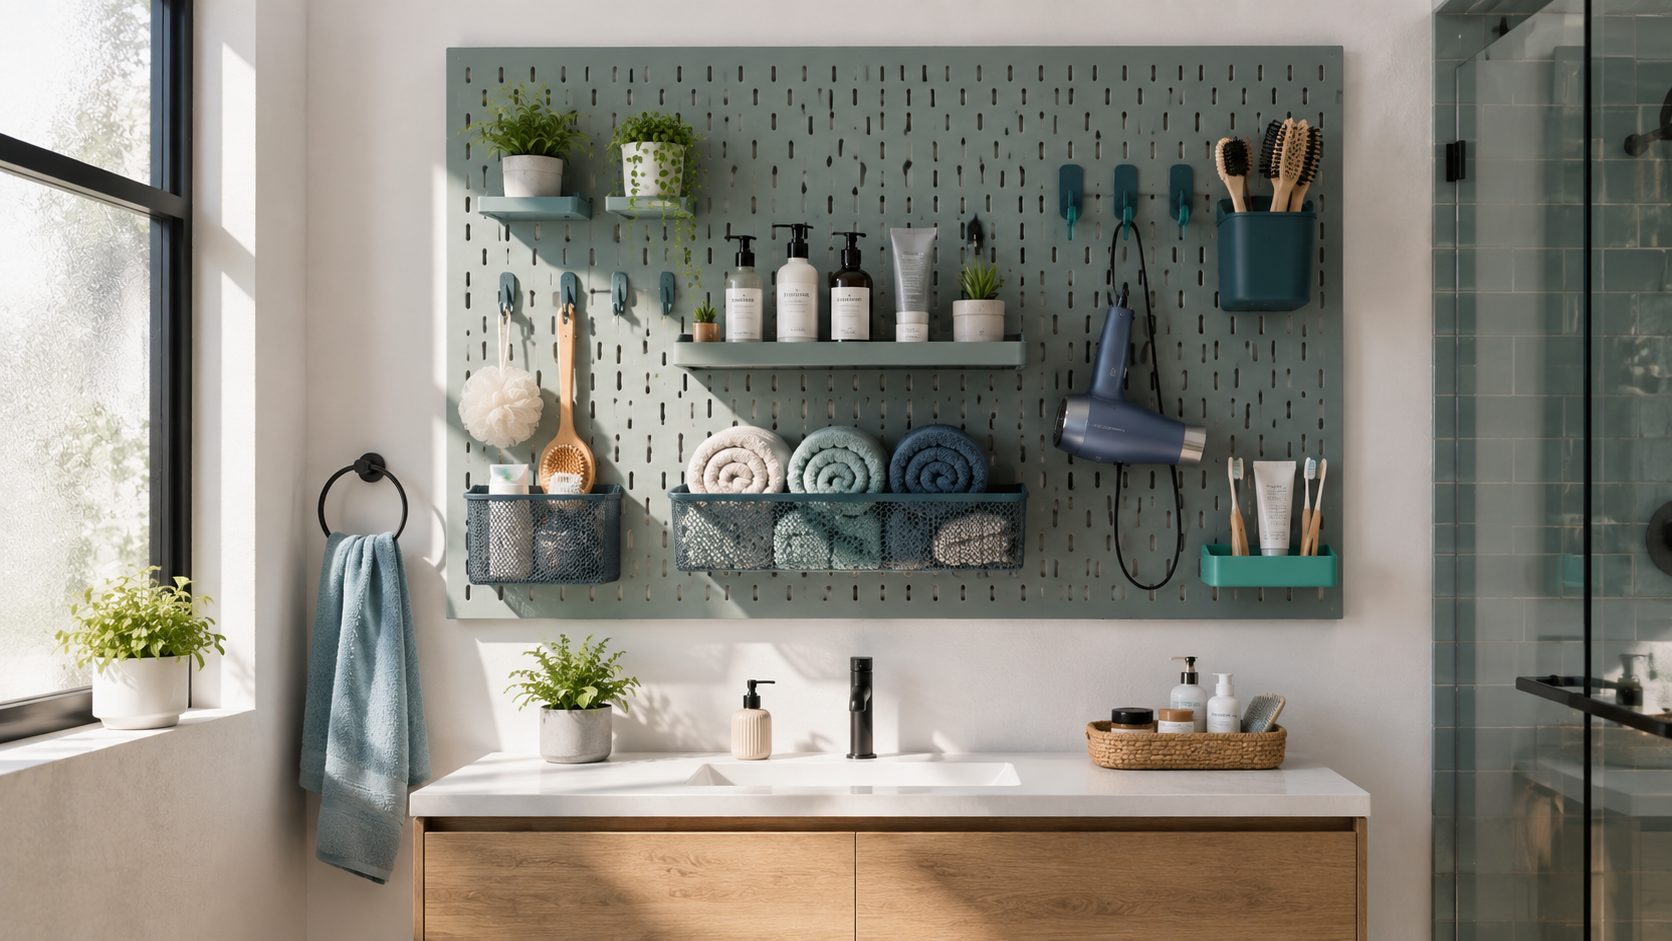
- Bathroom: Plastic bins for toiletries, shallow tray for scents, elastic for brushes, waterproof hooks for towels.
Tip: Always buy 10–20% more accessories than you think you need—the extra hooks will be useful for future reconfiguration.
Want inspiration? Explore the best IKEA SKÅDIS hacks and customization galleries.
IKEA Pegboard Hacks & Modular Tips
IKEA SKÅDIS stands out for renters, DIYers, or anyone who wants understated, high-functional modularity. Top hacks and ideas:
- Mosaic walls: Combine multiple SKÅDIS panels (with corner connectors) for a showpiece wall in kitchens, offices, or craft rooms.
- Corner mounts: Use included or BESTÅ brackets to navigate corners or build U-shaped setups.
- Seasonal re-style: Swap colored hooks or cups by season for a fresh look—no tools needed.
- Functional swaps: Treat your board as a mood-board: hang keyboard tools for build week, cooking gear for parties, swap to sewing bins for crafts.
- AR preview & planning: Use IKEA’s app to visualize layouts on your phone before buying or drilling (also helps with sizing and accessory count).
See more hacks and mood-board inspiration in our SKÅDIS customization gallery and try our step-by-step organizing system for a zero-clutter home.
Common Problems & Fixes
Real user reports and expert diagnosis reveal these typical pegboard wall organizer headaches—plus proven remedies:
- Panel not level / misalignment: Fix by marking all holes before drilling; always check for level at each mounting step.
- Warped wood (kitchen/bath): Use sealed wood or plastic for humid rooms; seal all edges carefully.
- Rust/corrosion on metal: Choose powder-coated/stainless panels; apply a clear sealant to edges if needed.
- Anchors pulling out: Always use studs or heavy-duty toggle bolts. Check and re-tighten after first month—and never exceed rated hook load.
- Confusing layout or wasted space: Use AR planning apps from IKEA or Wall Control before drilling, or do a full-size mockup on the floor/wall with painter’s tape and accessory arrangement.
If you encounter these issues, reference handy guides on project budgeting and troubleshooting or see our primer on moisture-proofing wood/metal for wet zones.
Buying & Measuring Checklist
Use this concise list before you purchase or install your pegboard wall organizer:
- Measure wall space and mark stud locations.
- Plan panel size(s) and total area (use AR preview if available).
- List heavy items; estimate weight per hook needed.
- Decide preferred finish (powder coated, sealed wood, or plastic) to match both décor and humidity level.
- Choose your modular system and starter accessories (always allow for 10–20% extra hooks/cups).
- Buy appropriate anchors or toggle bolts (if not mounting only to studs).
- Mock up layout on the floor (“floor test”) before any drilling.
- Gather tools: stud finder, level, drill, tape measure, fasteners, sealant (for wood/metal), and helper if possible.
- Read manufacturer instructions & confirm rated loads for all accessory types.
- Schedule a post-install check at 30 days to re-tighten and adjust as needed.
Ready to organize more rooms? Compare options with our modular closet systems or learn about van conversion storage for flexible or mobile lifestyles.
FAQs
What pegboard material is best for hanging heavy pots and pans in a kitchen?
Powder-coated metal (steel or aluminum) panels are the safest pick for hanging heavy cookware. Anchored to wall studs, they can support 30–50 lb per hook. Always use reinforced steel hooks and check weight ratings before hanging.
Can I use IKEA SKÅDIS in a bathroom, and how do I protect it from moisture?
Yes, IKEA SKÅDIS can be used in a bathroom if you select the plastic finish or a well-sealed wood version. For extra protection, seal wood edges with a moisture-resistant clear coat, and only use plastic or powder-coated accessories in humid zones.
How should I anchor a pegboard if I can’t align it with studs?
Use heavy-duty toggle bolts rated for your expected load when stud alignment isn’t possible. Space the anchors across the panel to distribute weight, and always confirm anchor ratings before hanging heavy items.
What accessories do I need for turning a pegboard into a kitchen spice station?
You’ll want shallow trays or racks for spice jars, small shelves for oils, and color-coded hooks for utensils or measuring spoons. Mesh baskets and magnetic jars are useful for overflow or odd-sized containers.
How do I prevent my wooden pegboard from warping or my metal pegboard from rusting?
Seal all wood edges with moisture-resistant sealant before installation. For metal, choose powder-coated or stainless options and apply clear sealant to exposed edges, especially in kitchens and bathrooms. Regularly check for early warping or rust and address it promptly.
By following this guide, you can confidently choose, install, and enjoy your next pegboard wall organizer, making your home more practical, beautiful, and clutter-free for years to come.